
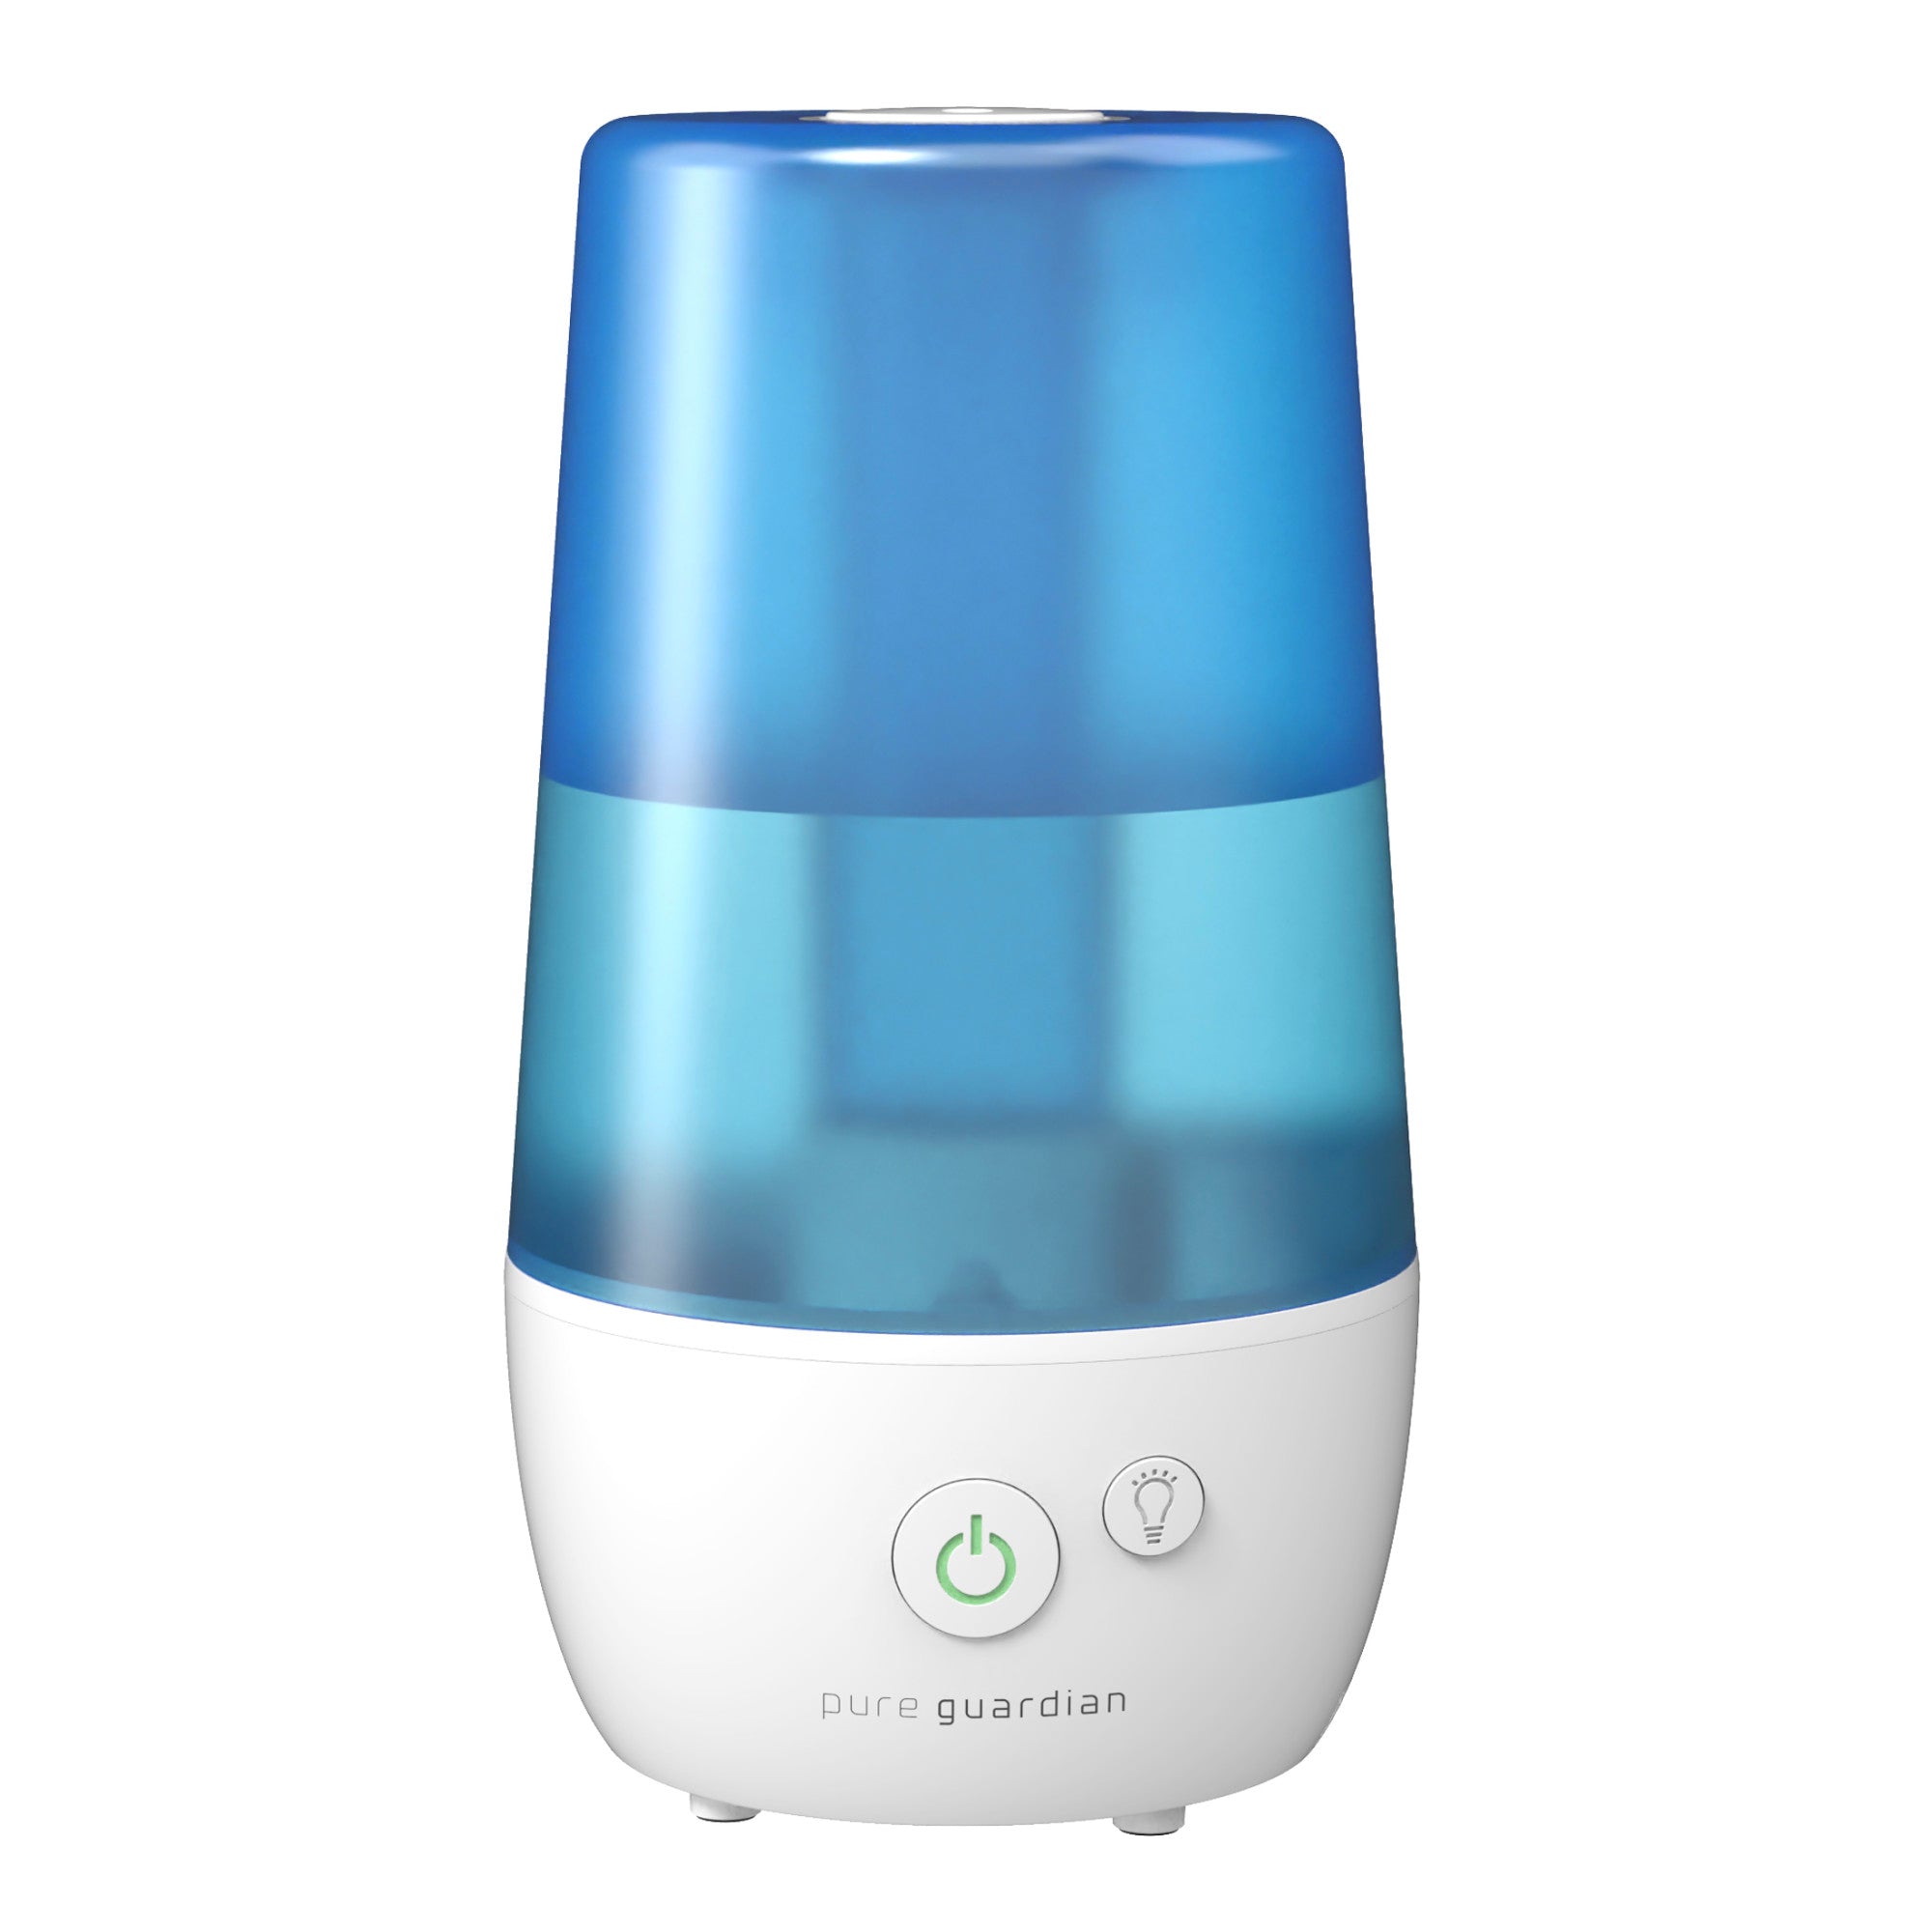
A puddle near a humidifier is a symptom to investigate before you run it again. It can come from a filling spill, incorrect tank seating, a damaged seal, or mist collecting on a nearby surface. The first step is to separate these possibilities instead of assuming every wet surface means the tank is cracked.
Unplug the appliance before handling a suspected leak. If water has reached electrical parts, stop using it and seek manufacturer guidance. This checklist is for external inspection and routine care, not for opening the housing or repairing wiring.
Look at the pattern of moisture
Dry the outside of the tank and the supporting surface. Check whether water was left around the cap during filling. Read the manual's tank-installation steps, then inspect the cap, gasket, and seating area for visible damage or debris. A cap needs the correct seal and alignment; forcing it tighter is not a reliable repair strategy.
Moisture directly under a tank points you toward assembly or sealing. Dampness concentrated in the path of the mist points you toward placement and output. These are clues rather than definitive diagnoses. If the problem persists after permitted checks, document it and contact support.
Condensation can happen without a tank failure
A mist plume aimed at a nearby cool surface can collect there. Review the clearances in your manual and reduce output if the immediate area becomes damp. Direct the nozzle into an appropriate open space rather than toward bedding, a wall, or electrical equipment.
Do not put a towel beneath the machine and continue indefinitely without understanding the cause. An absorbent layer can hide a recurring problem. Likewise, running at a higher setting to compensate for poor room distribution may increase local wetness instead of improving placement.
When the unit runs but the mist is weak
Check the basics first: the intended setting, the tank's position, the water level, and whether the outlet is obstructed. Then consult the care instructions for deposits on the ultrasonic disk. Scale is one possible cause; it is not proof that every weak-output unit has the same fault.
Use the supplied brush or the cleaning tool allowed by the manual. Scraping the disk with a hard object can create damage that is harder to address than the original deposit. Keep liquid out of areas the manufacturer identifies as electrical or air openings.
Make a useful support record
- Record the full model code and when the problem occurs.
- Note whether the issue begins before or after the machine is switched on.
- Take clear photos of visible damage and the moisture pattern.
- List the external checks and manual-approved cleaning already completed.
- Keep the receipt available if support asks about the purchase.
Good troubleshooting narrows the problem without adding a second one. When external checks do not explain a leak, repeated restarts are less useful than a clear description to the manufacturer.